Crafting Your Own Custom Box: A Step-by-Step Guide
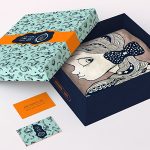
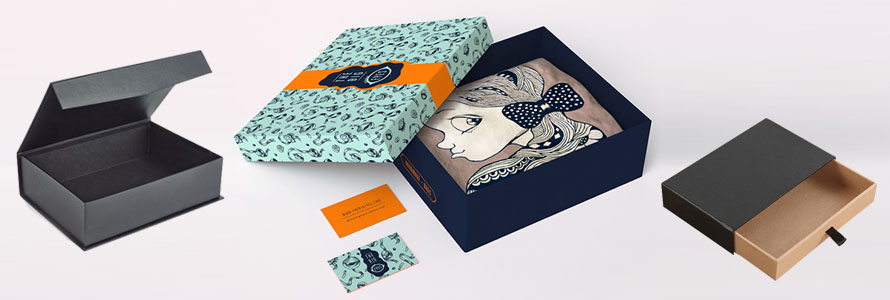
Boxes serve various purposes in our daily lives, from packaging gifts to organizing belongings. While pre-made boxes are readily available in stores, making a custom box allows you to add a personal touch and tailor it to your specific needs. Whether you’re looking to create a unique gift box or need a specialized container for storage, crafting your own custom box can be a rewarding and creative endeavor. In this guide, we’ll take you through the step-by-step process of making a custom boxes.
Materials Needed:
- Cardboard or Heavy Paper: Choose a sturdy material that suits the size and purpose of your box.
- Ruler: For accurate measurements.
- Pencil: To mark measurements and guidelines.
- Scissors or Craft Knife: For cutting the cardboard or paper.
- Bone Folder or Spoon: To create clean, crisp folds.
- Glue or Double-Sided Tape: To secure the box edges.
- Decorative Paper or Fabric (Optional): For a personalized touch.
- Cutting Mat (Optional): To protect your work surface.
Measure and Mark
Cut the Material
Carefully cut along the marked lines using scissors or a craft knife. Ensure straight cuts for neat edges. If you’re using a cutting mat, place the material on it to protect your work surface.
Score and Fold
Using a ruler as a guide, score along the lines where you’ll be folding the cardboard. This helps create clean and precise folds. If you have a bone folder or spoon, use it to press along the scored lines to ensure sharp creases.
Assemble the Box
Apply glue or double-sided tape to the flaps of the box, then carefully fold and press the edges together. Hold the pieces in place for a moment to allow the adhesive to set. Make sure the corners align perfectly.
Decorate (Optional)
Allow Time to Dry
After assembling and decorating your custom box, give it some time to dry completely. This ensures that the adhesive sets properly, and your box becomes sturdy and durable.
Conclusion
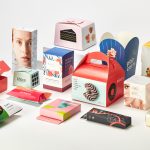
Crafting your own custom box is a fulfilling and practical way to enhance your gift-giving or organizational experiences. With a few simple materials and a bit of creativity, you can create personalized boxes that are both functional and aesthetically pleasing. Experiment with different shapes, sizes, and decorations to make each custom box unique to its purpose.